# Projects
Projects provide a powerful way to organize and manage your test suites in the Bespoken Dashboard. By grouping related test suites into projects, you can maintain a cleaner workspace and improve collaboration across different testing scenarios.
# What are Projects?
A project is a container that groups related test suites together. For example, you might create separate projects for:
- Different applications or products you're testing
- Different development stages (development, staging, production)
- Different teams or departments
- Different clients or customers
Each project contains:
- Name: A descriptive title for your project
- Description: Optional details about the project's purpose
- Test Suites: All test suites belonging to this project
- Metadata: Creation date, last modified date, test suite count
In this article, we'll detail the different options you have to manage them.
# Creating Projects
To create a new project:
- Navigate to the Projects page from the main navigation
- Click "Create Project" in the top-right corner
- Enter a project name (required)
- Add an optional description
- Click "Create Project"
You'll be taken to the project's test suites page where you can start adding test suites.
# Managing Projects
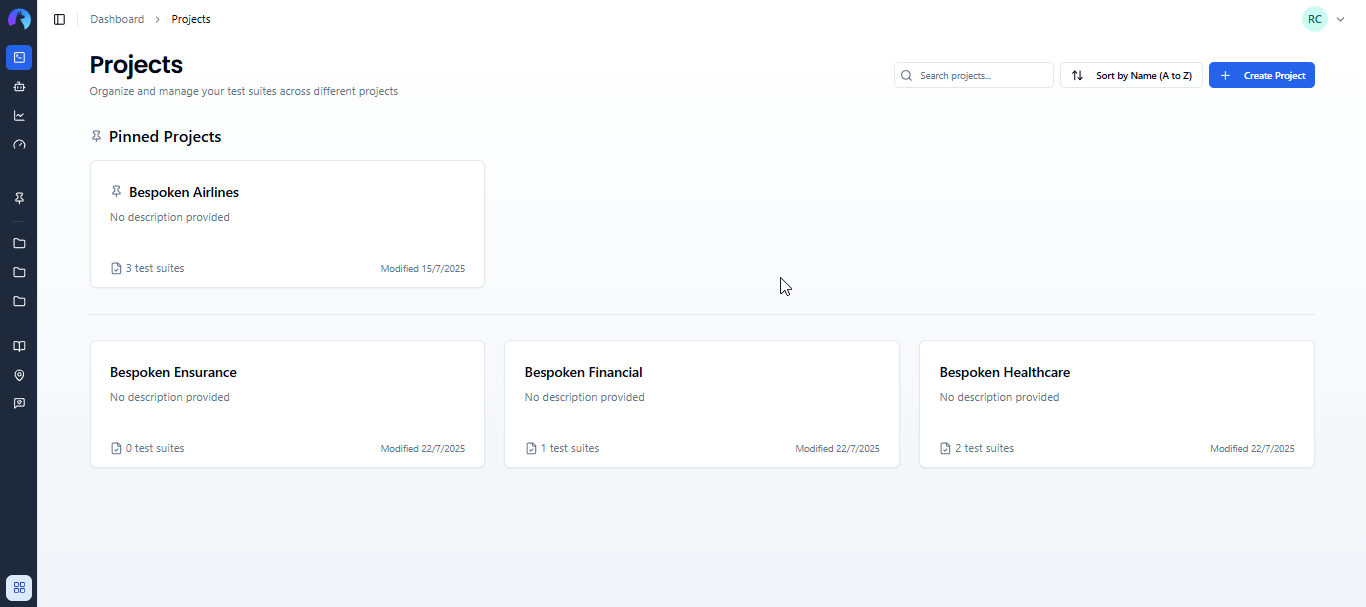
# Searching and Sorting Projects
You can find projects quickly using the search bar at the top of the Projects page. Results update as you type and are case-insensitive.
Use the sort dropdown to organize your projects:
- By Name: Alphabetical order (A-Z or Z-A)
- By Modified: Most recently updated first or last
- By Test Suites: Projects with most or fewest test suites first
# Pinning Projects
Pin frequently used projects to keep them at the top and in your sidebar:
- Click the three-dot menu on any project card
- Select "Pin Project"
- Pinned projects appear at the top of the dashboard and in sidebar navigation
Note
You can pin up to 5 projects per organization.
# Editing Projects
To modify a project:
- Click the three-dot menu on any project card
- Select "Edit"
- Update the name or description
- Click "Save Changes"
# Deleting Projects
To delete a project:
- Click the three-dot menu on the project card
- Select "Delete"
- Confirm the deletion in the dialog
Note
Projects with test suites cannot be deleted. Please move or delete the test suites first.
# Project Navigation
# Sidebar Integration
Projects appear in the main sidebar for quick access:
- Pinned projects appear first
- Other projects in alphabetical order fill remaining spots
- Click "Show More" to see additional projects when the sidebar is expanded
- Use the search icon next to "Projects" to search within the sidebar
Click any project in the sidebar to navigate to its test suites.
# Working with Test Suites
All test suites belong to a project. When you're viewing test suites, you'll see:
- Project name in the page header
- Project description (if provided) below the project name
- Only test suites belonging to the current project
# Moving Test Suites Between Projects
You can move test suites from one project to another:

# Cloning Test Suites to Other Projects
You can also clone test suites to different projects:
For more details about working with test suites, see the Test Suites documentation.
← Overview Test Suites →